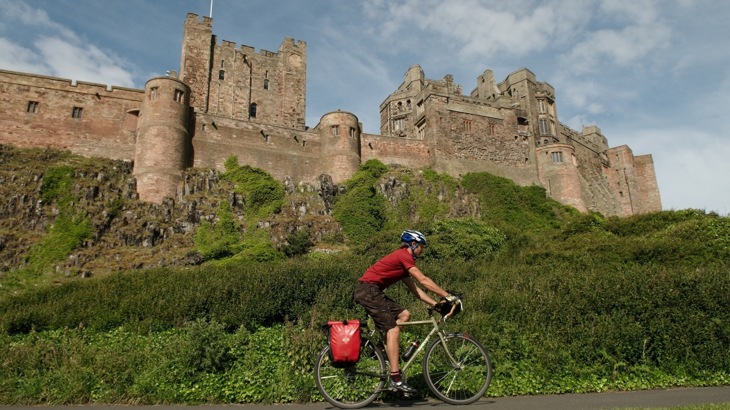
Are you looking to challenge yourself on a long-distance bike ride? Or are you organising a bike touring holiday over the summer?

The joy of cycle touring is the freedom it gives you. You can travel at your own pace and explore new and interesting places.
We caught up with a seasoned cycle tourer and one of our Cycling Development officers, Mike Dennison.
Mike recently completed a 1,200 mile tandem ride across France from Roscoff to Nice.
Following his ride, he's shared with us his top tips on how to make the most of life in the saddle.
Be realistic about your plans
The joy of cycle touring is the freedom it gives you. You can travel at your own pace and explore new and interesting places.
You experience so much more when travelling by bicycle, so plan your route carefully and build in enough time to enjoy your surroundings.
Factor in regular breaks for tea, coffee and snacks. Make sure that you allow time to stop at points of interest your route, and to deal with the unexpected.
Don’t set yourself an unrealistic schedule, as you'll just end up rushing from one location to another with little time to enjoy the beauty of the in-between.
Guidebooks to help inspire and plan a long-distance bike ride
Prevention is always better than cure
It might sound obvious, but make time to give your bike some love before you set off and during your trip.
Take it to your local bike shop for a service or enrol on a bicycle maintenance course.
A few basic skills can be enough to keep you on the road, or at least get you to a bike shop in an emergency.
As a minimum, keep your bike clean.
Make sure your chain and derailleurs are well lubricated and that your tyres are inflated to the correct pressure.
Remember to regularly check both of these during the course of your trip.
A general rule of thumb: anything rattling or rubbing will get worse as you ride. A quiet bike is a happy bike.
The M check for your bike in 11 steps
Test your kit before you set off
Load your bike exactly as you intend to ride it Get your cycling kit together, load it onto your bike and go for a test ride.
A loaded bike will handle differently on hills and when cornering, and takes longer to stop when braking so you need to get used to it.
Pack heavy items at the bottom of panniers to improve stability and make sure that essentials like waterproofs and snacks are easily accessible.
Make sure you are comfortable on the bike.
An aching neck, sore arms and saddle discomfort can be easily resolved by making small adjustments to the bike’s set up.
However, they can also ruin a cycle tour if left unresolved.
Carry some basic spares and a ‘multi-tool’
Packing a few basic spares can save you pushing your bike a long way.
Whether it's inner tubes, brake pads or spare spokes.
Invest in a good ‘multi-tool’ which will give you everything you need for roadside repairs. Also, never be afraid to ask for help.
Passing cyclists are usually more than happy to stop and help with any mechanicals that you can’t fix yourself.
Make sure you are comfortable on the bike. An aching neck, sore arms and saddle discomfort can be easily resolved by making small adjustments to the bike’s set up. However, they can also ruin a cycle tour if left unresolved.
Avoiding the dreaded puncture
Punctures can be almost avoided by following some basic guidelines.
Most punctures are caused by incorrect tyre pressure, so make sure you inflate your tyres as per the manufacturer’s guidelines.
Remember that a heavily laden bike will require more air pressure in the tyres.
If you are unlucky enough to get a puncture, make sure you carefully check the tyre for any thorns or shards before refitting it.
Failure to check may lead to you having to refit it all over again.
Punctures are also far more likely to happen in the rain. To save yourself time and prevent you from faffing in torrential rain, have a practice at home first.
Most cyclists swap their punctured inner tube for a fresh one straight away - it’s quicker and you can patch the old one at a later date.
But don’t be afraid to patch on the spot.
With touring, you have all the time in the world.
Wait for the glue to turn tacky before putting the patch on - it will take far longer to stick if you rush.
A patched inner tube, when done right, is just as good as a new one.
Video: How to repair a bicycle puncture
Be kind to your bike on the road
While on the road, there's a few simple checks and steps which could save you from an untimely malfunction.
Be nice to your chain. Avoid changing gear when standing up on the pedals, and keep it as straight as possible (e.g. if you’re in a high gear at the front you should be in a high gear at the back).
Bolts in racks can rattle undone as you ride so check them regularly.
Similarly, check for loose spokes and learn how to tighten them with a spoke key.
A broken spoke will cause a buckle in the wheel and put more pressure on the remaining spokes, so replace it as soon as possible.
Loosen off the surrounding spokes and the brakes if necessary, to allow the wheel to turn.
Brake pads will also wear as you ride, especially in wet conditions.
Turn the barrel adjuster periodically to ensure the brake is still engaging (unscrew the barrel adjuster to tighten the cable).
Also, remember to keep an eye on the pads to ensure they don’t go beyond the wear line.
See our range of environmentally friendly bike maintenance products
Temporary repairs to get you to a bike shop
Inevitably on long bike rides, there will always be the need for some level of side-of-the-road quick fixes. Some will be temporary, some won't.
Here's a few of Mike's favourite tips for repairs on the move:
- Torn or damaged tyres can be temporarily patched on the inside with a gel wrapper or a similar item before carefully re-inflating.
- If it's a blowout, consider using a folded section of your old spare tube to line the inside of the tyre.
- For lost bolts in racks, cable ties can be fed through the bolt hole but they break easily so string or twine is much better.
- If the rack itself breaks, see what's in your luggage or by the roadside that can be used as a splint. A spoon handle lashed in the right place can be very effective.
- Broken brake cables are easy to replace with a little intuition (and of course a spare cable). This is the typical path of a brake cable: hook inside lever, through barrel adjuster, outer casing (maybe two separate pieces of casing or one single), noodle (curved metal part - only on V brakes), bolt.
- Spokes in the front wheel can be replaced without taking the wheel off. Copy the lacing pattern (typically over-over-under) of the other spokes. Don’t be afraid to give it a fair bit of force. The rear is more difficult because you have to remove the gears using a specialist tool.
- A broken derailleur can be removed, and the chain shortened and refitted so that it sits on one of the middle sprockets. You’ll only have one gear but at least you’ll be able to ride to the nearest bike shop.
And finally...
It’s surprising how many things can be temporarily repaired with waterproof duct tape, from loose mudguards to items of clothing.
Be sure to pack half a roll with your spares.


